Site Navigation:
Craig's twitter feed:
Tweets by @gevmage
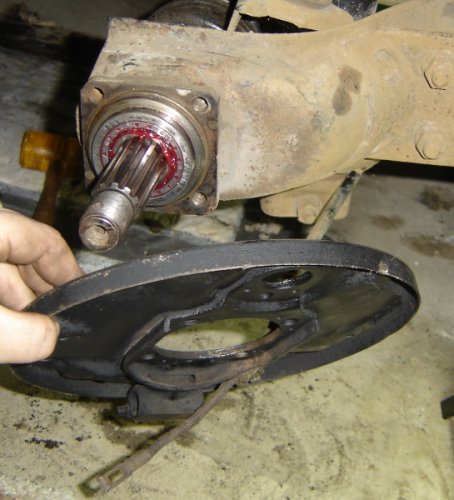
The first thing I did in this project was to remove the drive shaft from the right rear wheel. For the first time since then, I took the protective bad off and got ready to hook it back up to the stub axle.
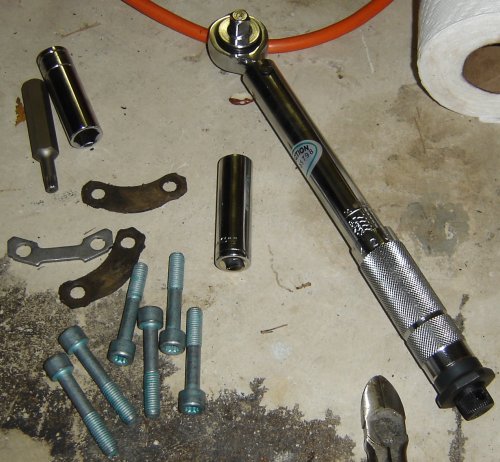
Here's the hardware for re-attachment. Since the triple-square bolts are so fiddly, particularly when dirty, I'm going to just put in all new bolts. Of the three pressure plates, one is new because of the grinding I did on the old one to try to get the stripped bolt out.
I stuck the drum on the stub axle to provide a way to keep the axle from turning...
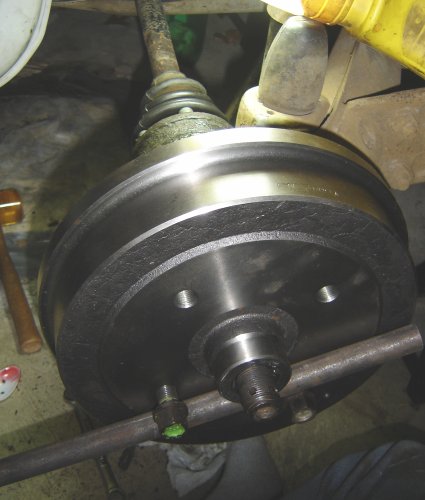
As I torqued the bolts on that hold the drive shaft to the axle.

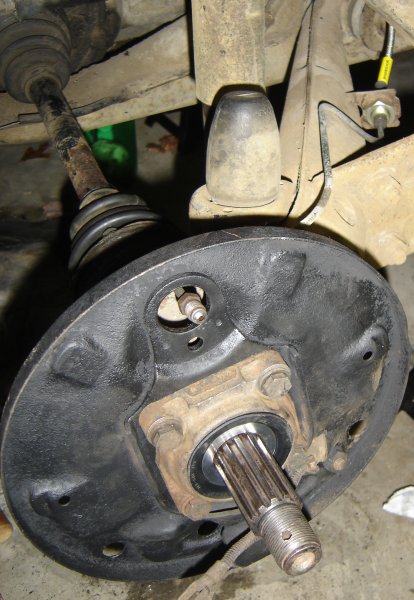
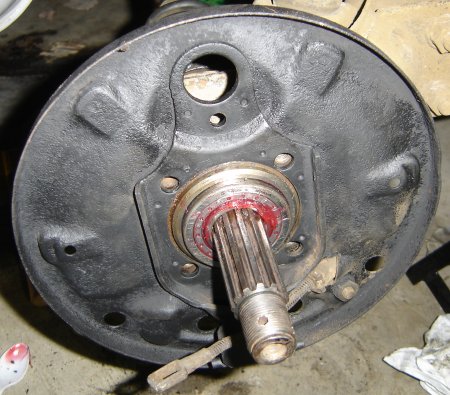
Next comes the brake plate, which I've painted a groovy flat black, as outlined recently.
I attached the emergency brake cable to the brake plate, and then discovered that with the brake cable attached, it won't fit over the stub axle when it's in place.
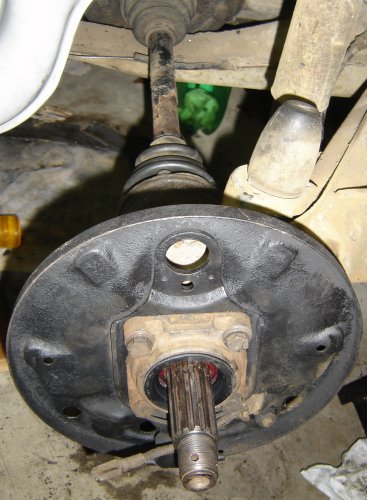
After all the trouble with getting the axle bolts out, there was no way I was going to take it back off, so I disconnected the brake cable, installed the plate, then re-atached the cable.
The bearing carrier installed with the outer seal in place. This is a good illustration of the color change in the brake plate. Before cleaing and painting, the plate was about the color of the carrier.
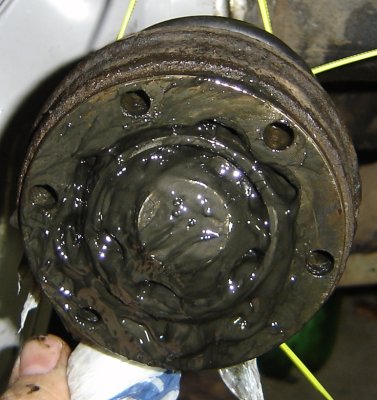
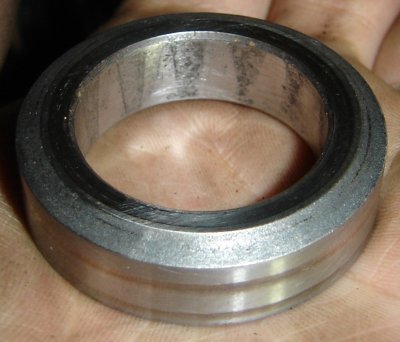
The outer spacer, which has a chamfer on one outer edge; the one that goes against the inner race of the ball bearing.
Brake plate, bearing carrier, drive shaft, and outer spacer installed (its the shiny thing in the middle of the seal). I've also installed the brake hard line that feeds the slave cylinder; the top is visible in the hole in the brake plate with the cylinder mounts.