Site Navigation:
Craig's twitter feed:
Tweets by @gevmage
I was doing really well for my weekend checklist. I got stuff done in the house, and started the evening working on the beetle.
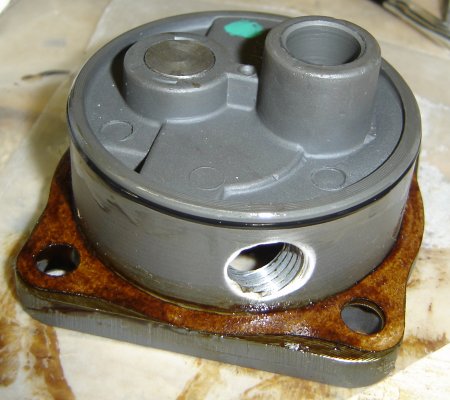
The oil pump body went in fine. Here it is with the gasket prepared and ready
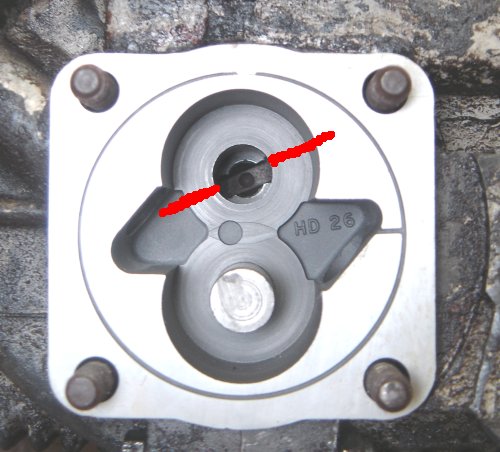
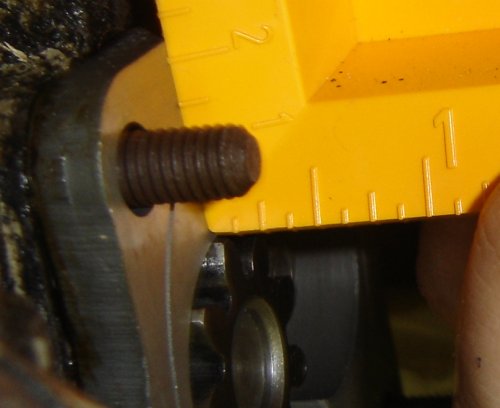
Oil pump body in the car. Through the upper hole, you can see the slot in the camshaft gear that the oil pump gear engages into. The red lines show you the direction of the slot as in the photo.
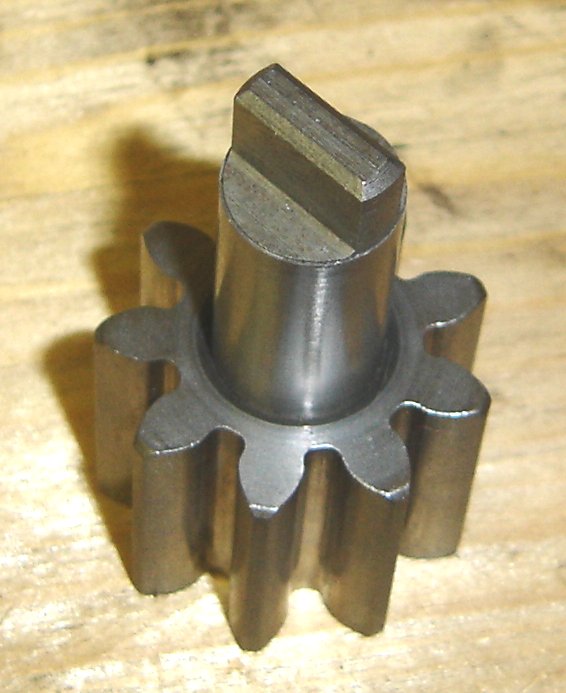
The oil pump driven gear, with its shaft sticking up. The tang on the end of the shaft goes into the camshaft gear slot.
Here's how the gear goes into the oil pump body
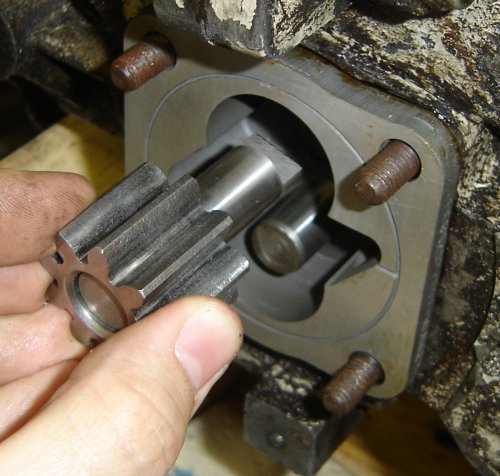
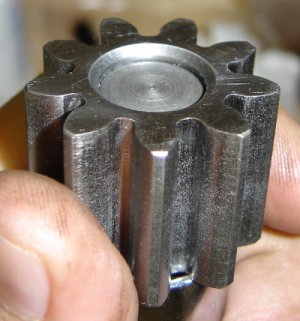
A critical measurement is making sure that the shaft s
ticks the correct amount into the camshaft gear slot. First you make sure that when it's engaged correctly, the gear drops all the way into the oil pump body. Then when the gear is rotated and pushed into the body non-aligned, then the amount that it ends up sticking out is how far the tang of the shaft goes into the camshaft gear slot. Here is the initial measurement; the shaft doesn't stick into the camshaft gear nearly far enough. We need to extend the shaft from the gear.
Here's how the extension is done, as per the Gene Berg instruction sheet that came with the oil pump. The shaft sticks into the large socket, and the small socket pushes the shaft further out of the gear.

The back end of the shaft before extending
And after
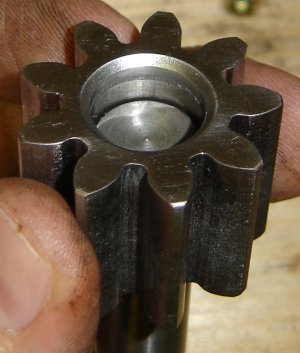
Just right, about a quarter inch into the camshaft gear.

Well that's all fine and ducky. The oil pump body is in the engine, and the gears are set and ready to install (which will be later in the assembly process). Last thing before I quit for the night was to pop one of the cylinders off to see what the next part of the job was going to be like.
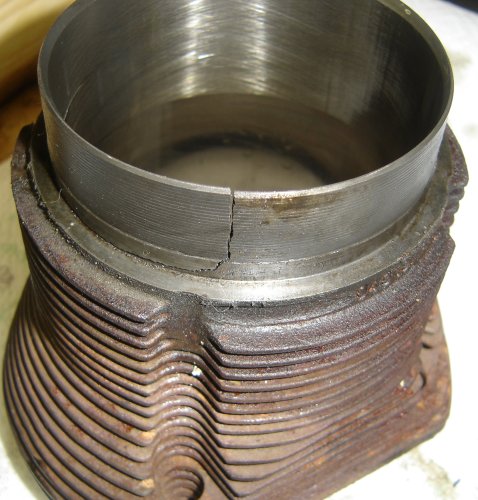
Right side of the engine, #2 cylinder removed.
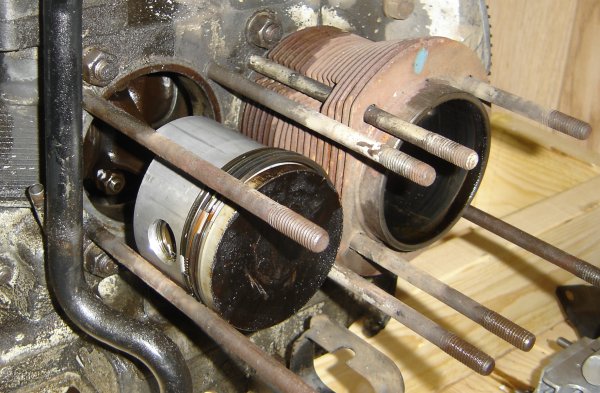
Which is fine as far as it goes. HOWEVER...
The base of that cylinder has a massive crack in it
The inside of that cylinder is interesting.
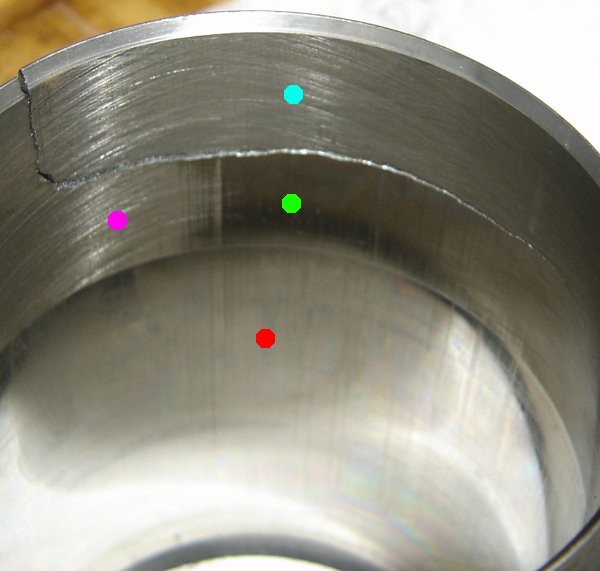
The three different areas of wear is interesting. Farthest into the cylinder (remember we're seeing this from the crankshaft's point of view) the piston rings have worn the cylinder shiny smooth; marked with a red dot.
Up farther, you can see the part where the piston skirt was scraping but not the rings. The green dot shows where the skirt was scraping and the purple dot shows where it wasn't.
Curiously, then, above the crack, at the cyan (light blue) dot, where the piston skirt would have rubbed, it clearly didn't. So I'm guessing the crack was there when the cylinder was put it or it happened right afterwards, because that area isn't worn at all.
So--I'm in for a new set of pistons and cylinders. Since I was already putting on head on, I might as well get another one and that way the whole top end will be new. The engine obviously needed it anyway. The expense doesn't bother me, and isn't bad. It just bugs me that my driving it to Penguicon this year is now very much in doubt.