Site Navigation:
Craig's twitter feed:
Tweets by @gevmage
The story so far: On November 1, 2013, I broke our airplane. Due to a combination of freakishly gusty wind and my missing a couple of details, I put the airplane down but we ran off the runway and clipped the propeller. This lead to insurance replacing the prop and helping with engine inspection, to which we added getting the engine overhauled.
Due to various circumstances, that meant that getting the airplane flying again was a several month process. Since it was going to be down all that time, I decided to go ahead and update and fix some things that needed doing.
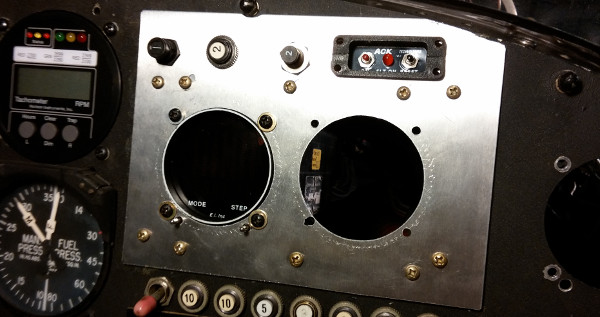
I was mostly happy with the instrumentation in the airplane, but one thing I was NOT was the ammeter. It was an analog galvanometer, and it frankly barely worked. It had some bias in it, so the zero it read in the air when the battery was all charged was different than what it ready on the ground when everything was off. Consequently, I didn't feel that I could tell reliably from that meter if the charging system was working or not. So I decided to install an EI digital volt/ammeter. However, there's no slot, so I had to make one. There was a blank part of the panel, which it turns out covered up a place where you can put avionics. Over the winter, I fabricated a panel to fill that space.
The new sub-panel was to hold the new ammeter, and the engine monitor which had already been in the plane but putting it there would move it closer to the pilot and easier to see and operate. It would also hold the breaker for the engine monitor, the breaker for the volt/amp meter, and the breaker for the new digital tachometer that I was also putting in.
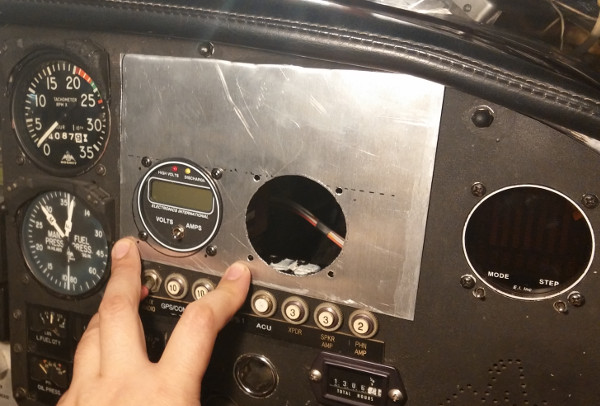
Here's how the airplane sat for over four months. The engine was
gone, being overhauled. Sad.

This is where I was realizing that I could fit two instruments
into that space, but not using those inserts.

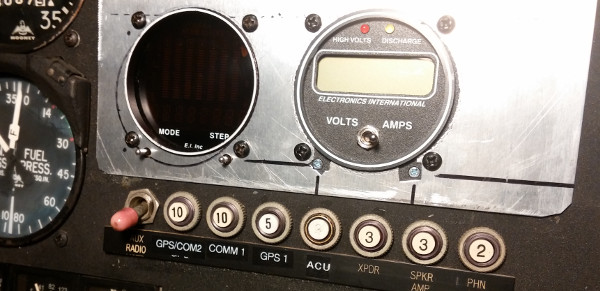
Test fit of the test panel. The ammeter is installed.
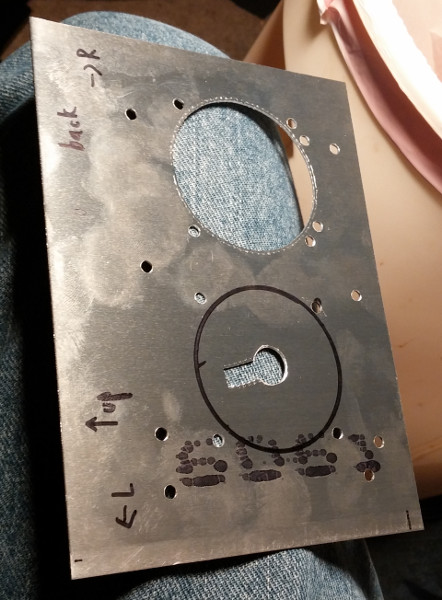
At this point I'd realized that it would make sense to have the engine
monitor closer to the pilot (on the left) because you're always
looking at that and often using the switches, and the ammeter goes
better farther away on the right because it's easier to glance and and
you're basically never touching it. Thus the test cuts for the
switches in both sockets. This is still the test panel. I've made
marker lines on it so that I can use it as a template for cutting and
drilling the real panel.
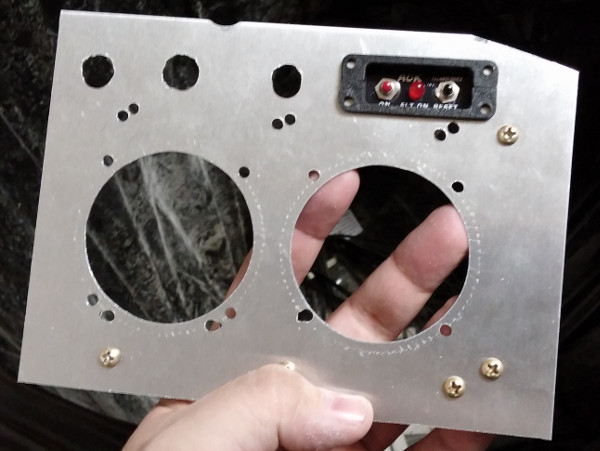
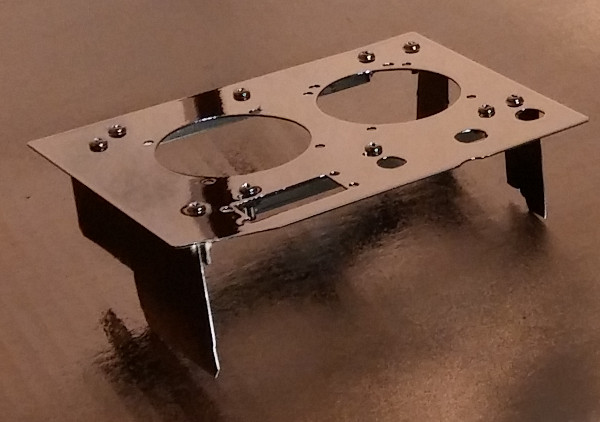
The real panel, cut from 6061-T6 Aluminum. I've cut out one of the
instrument holes and I'm in the process of nibbling out the second
one. I've drilled the holes for the stiffening ribs (which will have
to be re-done).
All the holes are in, including the ones at the top for the breakers.
Final test fit, before being...
painted black.
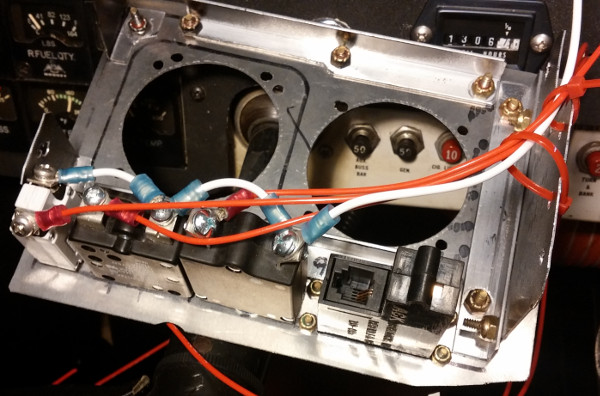
Here's the panel wired and ready to go in.
These two posts have photos of the final panel in the airplane with the gauges running.
So far, so good with new-year's resolutions. I've blogged for 2 of the 4 days of the new year (including this post) and I've walked on the treadmill for 3 of the 4 days.